Shelving Unit
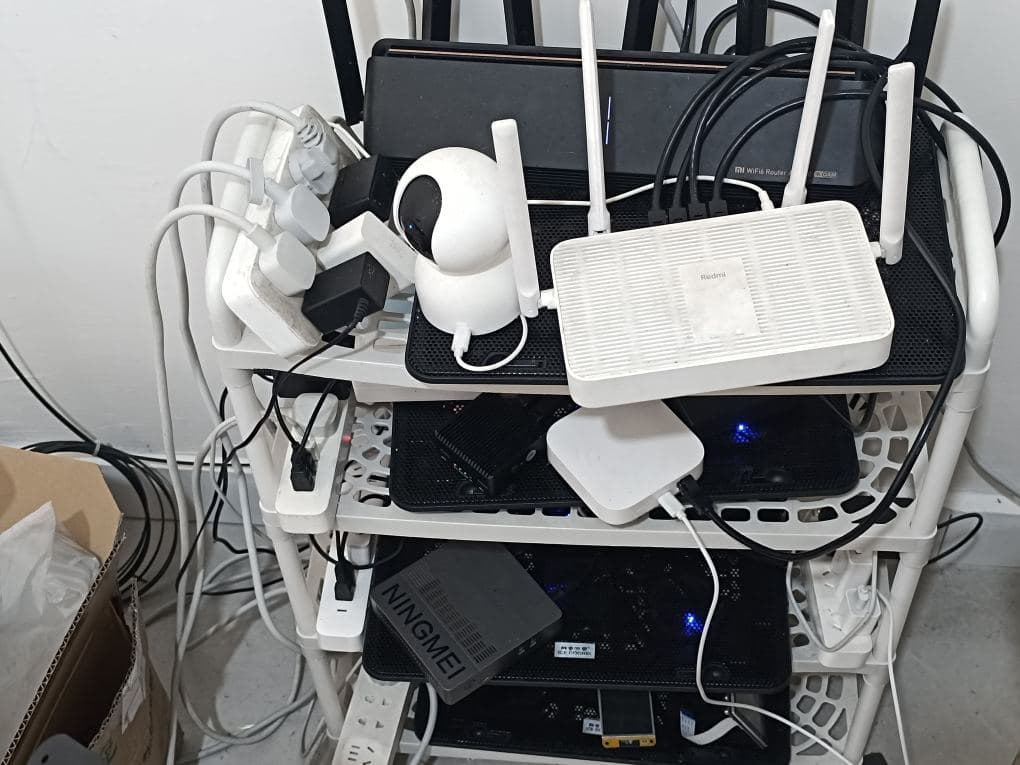
My homelab is primarily housed on a shelving unit in the living room.
It currently holds two routers (including an R5C “soft router” running OpenWrt), a network switch, two Orange Pi 3B single-board computers, a mini PC, a Bluetooth gateway hub, four power strips, and a Xiaomi security camera.
Despite being just a handful of simple devices, they require over a dozen power plugs—each often paired with a corresponding cooling base.
Since it is currently summer, the machines are prone to overheating; this can result in performance throttling (cutting speeds in half) or, worse, pose a fire hazard.
Temperature & Humidity Monitoring
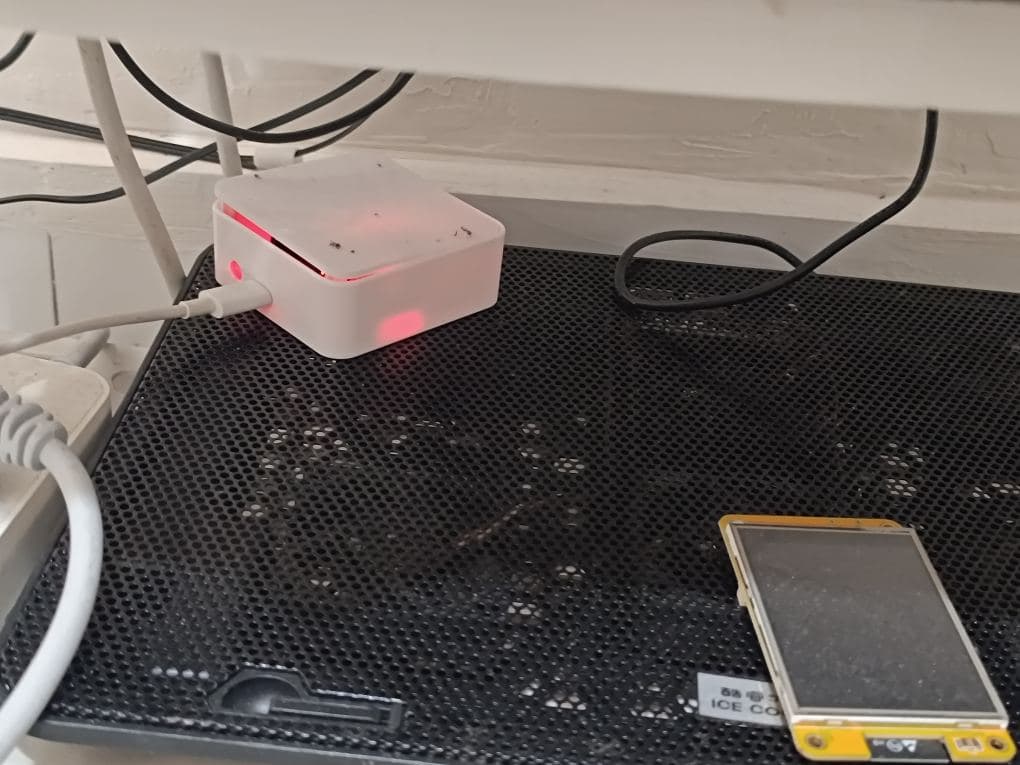
Following a previous incident where my R5C soft router malfunctioned because its cooling base fan had stopped working, I began prioritizing my homelab’s thermal management to prevent fire risks. To this end, I installed an ESP32 microcontroller paired with a DHT11 temperature and humidity sensor, housed inside the small white box pictured below.
This sensor unit is positioned on the very bottom shelf of the rack.
One of my Orange Pi 3B units is running a software stack consisting of Debian, Proxmox Virtual Environment (PVE), and Home Assistant.
Dashboard Data Display
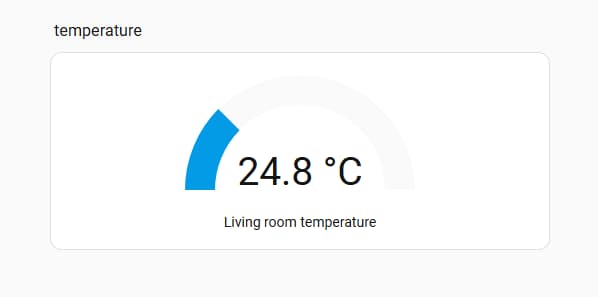
Currently, this is the only environmental data point I am tracking—temperature and humidity—but I consider it an extremely worthwhile addition.
It provides real-time monitoring of the homelab’s environmental conditions and logs historical data (spanning a month, six months, or even years). Furthermore, I have configured it to send notifications in the event of temperature anomalies—for instance, if the temperature exceeds 40°C.
There is one minor regret, however: I still need to dedicate some time to configuring the system to display these critical metrics directly on the small yellow-screened module. This would allow me to bypass Home Assistant entirely, letting me check the current readings simply by glancing at the screen, without needing to open an app on my phone or access the interface via a computer.
Auto-Startup
A homelab involves several aspects that, while perhaps uncommon, are nonetheless critically important.
For instance:
Power Outage Monitoring: Detecting power failures, configuring notifications for outages, and—crucially—setting up automatic system startup once power is restored (I have not yet researched a specific solution for this).
Network Outage Monitoring: Detecting internet connectivity loss and establishing a dedicated, independent backup network—such as via a mobile SIM card or an IoT data card—to ensure that basic network communication remains available even if the home’s primary broadband connection goes down (I have not yet researched a specific solution for this).
Service Anomaly Monitoring: In the absence of power or network outages, if a specific service becomes inaccessible, the system must immediately trigger an alert (using tools like Uptime Kuma).
Remote Control: When everything is functioning normally, the ability to utilize protocols such as SSH, VNC, or Remote Desktop is essential. This facilitates the convenient configuration and modification of services—a capability that is particularly valuable when you are away from home (using tools like RustDesk, frp, WireGuard, etc.).
Monitoring
It is absolutely essential to implement a dual-pronged monitoring strategy:
A Commercial Solution: This offers convenience, featuring capabilities such as pan-and-tilt control, real-time internet connectivity, infrared night vision, AI-driven anomaly detection (e.g., for fires), and the ability to view your homelab environment at any time, complete with cloud-based video storage.
A Free, Self-Hosted Solution: This offers unlimited scalability and ensures the preservation of local privacy. While it may be slightly less convenient than a commercial product, it provides unparalleled freedom and security—eliminating concerns regarding hackers or the remote deletion of critical video footage.